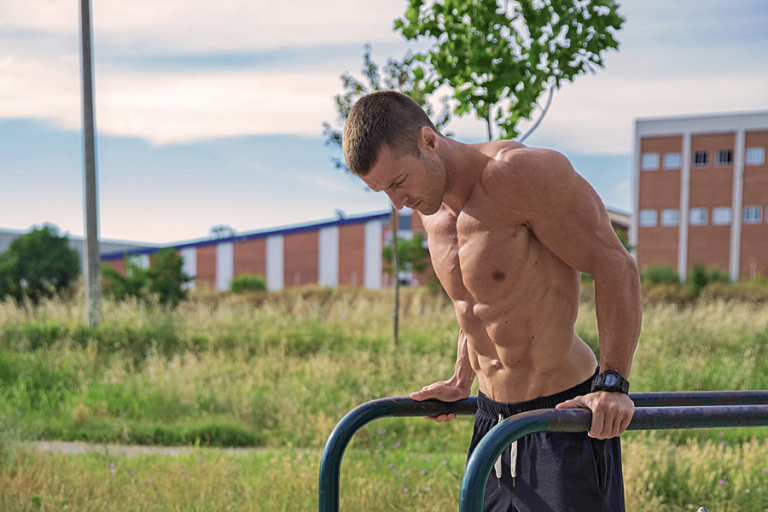
A chest workout at home doesn’t need machines, a bench setup, or a crowded gym. With a few square feet of floor space and a smart plan, you can build strength, muscle, and confidence in your upper body using mostly bodyweight moves and simple household items.
Below, you will find a beginner friendly chest workout at home, plus technique tips, weekly structure, and ways to progress as you get stronger.
Understand your chest muscles
When you know what you are training, every rep feels more purposeful.
Your main chest muscles are the pectoralis major and pectoralis minor. They help you push, pull, rotate, and lift your arms, which means a stronger chest supports everyday tasks like carrying groceries, pushing a stroller, or getting up from the floor. Working your chest also recruits your shoulders, triceps, and core, so you get more of a full body return on your time.
Because these muscles are large and active in so many movements, targeting them regularly can help you build functional strength and support fat loss by increasing your overall workload and energy use.
Warm up before your chest workout
A solid warm up prepares your joints and muscles, helps you move better, and reduces your risk of tweaks or strains.
Spend 5 to 8 minutes before every chest workout at home with gentle mobility exercises such as:
- Bird-dog stretch
- Shoulder rolls
- Trunk rotations
Move slowly, focus on control, and breathe steadily. These drills increase your joint range of motion and improve physical performance so your first set of push ups does not feel like a shock to the system.
Key chest exercises you can do at home
You do not need a long list of fancy moves. A handful of well performed exercises will build a strong base. Start with bodyweight, then add light resistance as you progress.
Regular push ups
Regular push ups are a classic for a reason. They engage your pectoralis major and minor, triceps, front shoulders, and core all at once. In fact, research shows that a standard push up has you lifting about 64 percent of your body weight, which makes it comparable to a bench press in terms of challenge. A study with resistance trained young men even found that push ups and bench presses can produce similar gains in strength and muscle size when the training is matched.
If you are new to push ups, start on your knees or incline your hands on a sturdy table or counter to reduce the load. Focus on a straight line from shoulders to knees or heels, and lower your chest with control.
Incline push ups
Incline push ups are easier than floor push ups, which makes them ideal if you are a beginner or returning from a break. Place your hands on a bench, sturdy chair, couch edge, or low table. The higher your hands are, the lighter the load on your arms and chest.
Incline push ups target the lower part of your pectoral muscles while still training your shoulders and triceps. Aim for 3 to 4 sets of 8 to 15 repetitions. Rest 30 to 60 seconds between sets so you can maintain good form.
Decline push ups
Once incline and regular push ups feel comfortable, you can flip the angle. Place your feet on a low step, box, or couch and your hands on the floor. This variation shifts more emphasis toward your upper chest and shoulders and increases the percentage of body weight you are pushing.
Start with a low surface and a small number of reps. Move only as far as you can while keeping your core tight and your lower back from sagging.
Diamond push ups
Diamond push ups are a simple way to challenge your chest and triceps without adding weight. From a standard push up position, bring your hands close together under your chest and form a diamond shape with your thumbs and index fingers.
This move strongly activates your pectoralis major and also works your shoulders, upper back, and triceps. Try 3 to 4 sets of 8 to 15 reps with 30 to 60 seconds of rest between sets. If this is too challenging at first, drop your knees to the floor while you build strength.
Isometric and time under tension push ups
Isometric push ups and time under tension variations turn a basic movement into a serious strength builder. With isometric push ups, you lower halfway and hold the position for several seconds. With time under tension push ups, you slow the lowering phase to 3 to 5 seconds before pressing back up.
Both versions keep your muscles under load longer, and that extended tension is helpful for muscle growth and control. Start by adding just a few of these reps at the end of your normal set.
Planks with shoulder taps
While not a pure chest exercise, shoulder tap planks help reinforce the stability you need for strong push ups and presses. From a high plank position with straight arms, tap your left shoulder with your right hand and then your right shoulder with your left hand, all while keeping your hips steady.
This move targets your core, shoulders, and chest as they work together to resist rotation.
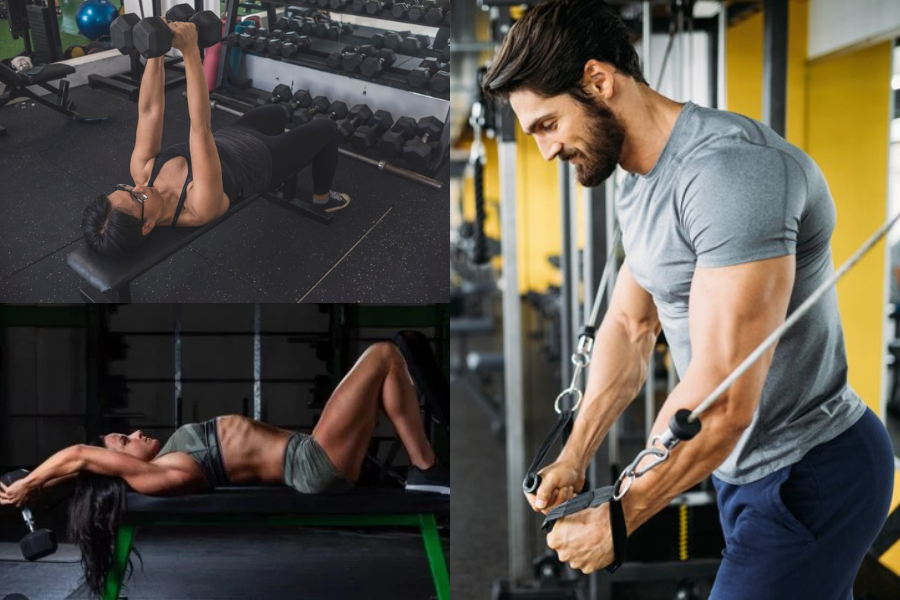
Bench press with dumbbells or water bottles
If you have a pair of dumbbells, or even filled water bottles, you can use them to mimic traditional gym style bench presses at home. Lie on a flat bench, a step, or even on the floor. With a weight in each hand, press them straight up from your chest, then lower with control.
This exercise strengthens and defines your pectoral muscles and also hits the deltoids, biceps, and triceps. Perform 2 to 4 sets of 8 to 15 repetitions. Start light, especially if you are using improvised weights, and increase gradually as you get stronger.
Chest flies and dips for later
As you gain experience, you can add chest flies with dumbbells in a flat, incline, or decline position. These target your chest through a wide arc and can make your muscles work hard with relatively light weights.
If you have access to parallel bars, two sturdy chairs, or the side supports of a solid table, chest dips are one of the best ways to build width and depth in your chest. They also engage stabilizer muscles in your shoulders and upper back. Because dips can be intense, treat them as an intermediate move and only add them once your shoulders feel strong and stable.
A simple beginner chest workout at home
To put everything together, here is a no equipment routine to use 2 to 3 times per week. Rest at least one day between sessions so your muscles can recover and grow.
Complete 3 rounds of the following circuit:
- 10 regular push ups
- 10 incline push ups
- 10 decline push ups
- 5 time under tension push ups, lower for 3 to 5 seconds
- 20 star jumps
- 20 mountain climbers, 10 each leg
Rest 60 to 90 seconds between rounds. The star jumps and mountain climbers increase your heart rate, add a bit of cardio, and make the workout more time efficient.
If that volume is too much to start, cut the reps in half or perform only 2 rounds. Your goal is steady, repeatable effort, not exhaustion on day one.
If you can finish the workout with solid form and still feel fresh, you are ready to increase reps or add a fourth round next time.
How often you should train your chest
When you are excited about progress, it can be tempting to work chest every day. Your muscles actually grow during rest, so recovery is a key part of any effective chest workout at home.
Many experienced lifters suggest training chest two to three times per week rather than every other day. This pattern gives your muscles time to repair and adapt while still providing enough stimulus for growth.
You can structure your week in a few ways:
- A simple full body routine where you include 2 or 3 chest exercises in each session
- A Push / Pull / Legs split that lets you hit your chest and triceps together twice per week
- An Upper / Lower split where you work chest on both upper body days
Alternating intensity also helps. For example, you might have one heavier day with harder variations like decline and diamond push ups, and one lighter day with incline push ups and easier tempos. This lets you train frequently without overloading your joints and connective tissues.
Progressing and avoiding plateaus
Your body adapts quickly. If you repeat the same routine with the same reps and difficulty, eventually your progress will slow.
To continue improving, adjust at least one of the following every few weeks:
- Angle: Move from incline push ups to regular, then to deficit or decline variations
- Range of motion: Elevate your hands on small blocks for deficit push ups, which increase shoulder and elbow movement, but progress slowly to avoid strain
- Volume: Add a set, add a few reps per set, or add one more round of your circuit
- Load: Introduce dumbbells, weighted backpacks, or water bottles for presses and flies
- Tempo: Slow down the lowering phase, add pauses at the bottom, or try isometric holds
Include new movements such as incline and decline bench presses with a barbell or dumbbells if you later gain access to more equipment. Hitting your chest from different angles helps keep your training fresh and your muscles responding.
Safety tips and when to scale back
As you challenge yourself, pay attention to how your body feels during and after each session.
If you notice sharp or lingering pain in your shoulders, elbows, or wrists, reduce the angle or difficulty. For example, swap decline push ups for incline versions, or use fists or push up handles if your wrists are sensitive.
Warm ups are not optional, especially as your workouts get harder. Continue using bird-dog stretches, shoulder rolls, and trunk rotations before every chest workout at home so your joints stay mobile and your muscles are ready.
Finally, remember that consistency matters more than any single perfect workout. Start with a level that feels manageable, aim for slow but steady progress, and adjust as you go. Over a few weeks, you will notice everyday tasks feels easier, your posture improves, and your chest and shoulders look and feel stronger, all without leaving your living room.